


· By Daylon Gardner
Cheese Curds Recipes: 2 Ridiculously Good Ways to Eat Squeaky Cheese
Key Takeaways
-
This post covers two crowd-pleasing cheese curds recipes: classic beer-battered fried curds and weeknight sheet-pan poutine.
-
Both recipes are completely doable in a home kitchen in under 45 minutes using grocery-store ingredients and basic equipment like a dutch oven or cast-iron skillet
-
Fresh “squeaky” cheddar cheese curds make the biggest difference in flavor and texture, but substitution notes are included if you can’t find curds in your area
Alright, cheese lovers, it’s time to talk about one of life’s greatest culinary treasures: the humble, squeaky, utterly irresistible cheese curd. If you’ve never deep-fried one, smothered one in gravy, or melted one onto a pile of nachos, prepare yourself. Your snack game is about to level up dramatically. These two cheese curds recipes will transform you into the hero of every game day, potluck, and random Tuesday night craving. Let’s get into it!
What Are Cheese Curds, Really?
Think of cheese curds as fresh baby cheddar chunks that never got the chance to grow up into a big block of aged cheddar. They’re the Midwest’s love language to cheese, squeaking against your teeth like tiny rubbery protests of deliciousness.

Here’s the quick science: when making cheese, milk gets heated and curdled with special cultures and enzymes. The resulting solids get cut into small pieces, normally these would be pressed together into wheels or blocks. But some curds escape the press and end up as snacks instead. Lucky us.
The famous “squeak test” is all about freshness. Ultra-fresh curds, we’re talking less than 24-48 hours from production, squeak because of springy protein strands rubbing against your tooth enamel. It’s basically your cheese talking back to you. Once those curds age past a couple days, the squeak fades as the proteins relax.
Fresh curds are typically lightly salted with a clean, milky flavor. You’ll find them in white or orange varieties (that’s just coloring, no real taste difference).

How to Choose and Prep Cheese Curds
Before you bring those curds home, you’ll want to conduct a brief interview. Just kidding, but seriously, a little knowledge on what to look for goes a long way toward recipe success.
The best curds for both recipes below are fresh curds that still have some squeak left in them. Ideally, you’ll use them within 1-3 days of purchase for maximum texture and flavor. If they’ve been sitting in your fridge for a week, they’ll still work, but don’t expect that signature squeaky magic.

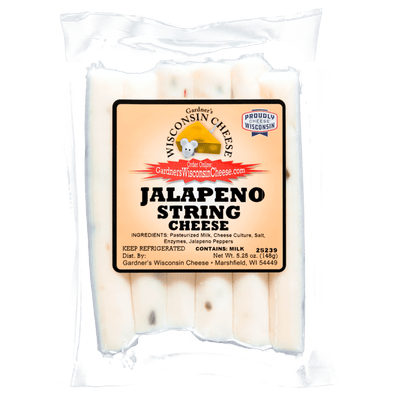
When reading labels, look for “cheese curds” or “fresh cheddar curds.” For poutine, stick with plain cheddar cheese curds since that’s the traditional choice. But for fried curds and nachos? Flavored varieties like jalapeño or garlic & dill can add an extra layer of flavor explosion.
A few essential prep tips:
-
Always pat curds dry with a paper towel before battering or baking. Excess moisture causes steaming instead of browning
-
Room temperature curds coat more evenly in batter than ice-cold ones
-
If your curds are very large (bigger than a quarter), tear them in half for more even cooking
For portioning, each recipe below assumes roughly 8 oz (225 g) of curds per 2-3 servings. Scale up generously for parties because these things fly off the plate.
Recipe 1: Classic Fried Cheese Curds (Pub-Style Snack)
These deep fried cheese curds deliver crispy, golden brown shells wrapped around gooey melty centers that’ll make you wonder why you ever needed to order them out at a restaurant.

This recipe uses a light beer batter made with buttermilk and your favorite beer. We’re going for that classic pub-style coating that shatters when you bite through it. You’ll be frying at 350-375°F in batches, which takes about 45-60 seconds per batch.
Core ingredients:
-
8 oz fresh cheddar curds, patted dry
-
1 cup all purpose flour (plus extra for dusting)
-
2 tablespoons cornstarch
-
1 teaspoon baking powder
-
1 teaspoon garlic powder
-
½ teaspoon smoked paprika
-
¼ teaspoon cayenne pepper
-
½ cup buttermilk
-
½ cup lager or pale ale (your favorite beer works great)
-
Salt and pepper to taste
-
Peanut oil or canola oil for frying (high smoke point is key)
Making the batter: Place curds in a large bowl and set aside. Whisk together flour, cornstarch, baking powder, garlic powder, paprika, cayenne, and a little salt in a separate bowl. Gradually add the buttermilk and beer, whisking until the batter is thick enough to coat a spoon but still drippy, think pancake batter consistency. Let it rest 10-15 minutes while your oil heats.
Frying setup: Fill a heavy pot or dutch oven with 2-3 inches of peanut oil. Clip a thermometer to the side and heat oil to 365°F. You’re aiming to fry at 350-360°F after adding curds (the temperature drops when food goes in). Monitor that oil temperature closely, too hot and you get burnt outside with cold centers, too cool and you get greasy sadness.
The frying process: Dust curds lightly in flour first, then dip into the batter, letting excess drip back into the bowl. Carefully place curds into the hot oil in small batches of 6-8 pieces. Don’t crowd the pan! Fry for 45-60 seconds until deeply golden brown, then transfer to a paper towel lined plate or wire rack set over a sheet pan.
Sprinkle immediately with a little salt and extra smoked paprika while they’re still glistening.
Serving suggestions: Serve with ramekins of homemade ranch dressing, marinara, honey mustard, or spicy chipotle mayo. These fried curds are at their absolute best within 10-15 minutes of leaving the oil, so serve them hot and watch them disappear.
Variations to try:
-
Swap beer for club soda for an alcohol-free version with similar bubbles
-
Use a gluten free flour blend for celiac-friendly batter
-
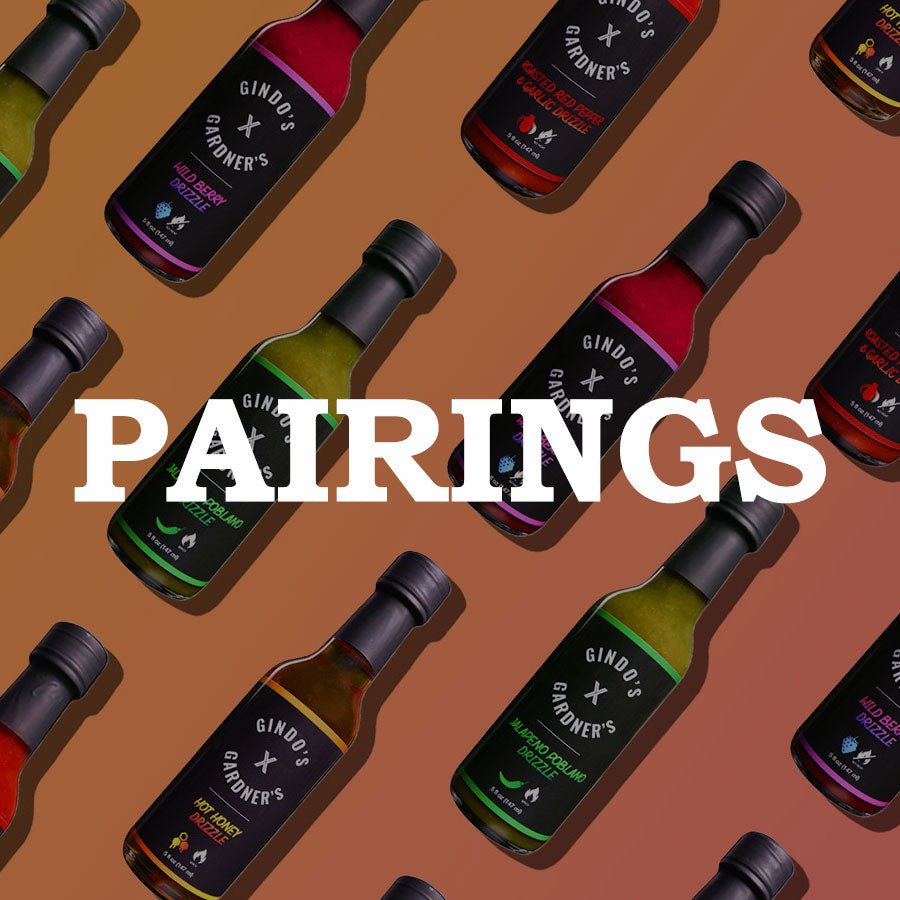
Finish off the fried curds with one of our drizzle sauces for more flavor.
-
Add extra cayenne pepper to the batter for serious heat
Recipe 2: Weeknight Sheet-Pan Poutine (Fries, Gravy & Curds)
Poutine is basically Canada’s national comfort food: fries, brown gravy, and cheese curds having a group hug. It’s messy, it’s indulgent, and it’s absolutely delicious. This simplified weeknight version uses a single sheet pan with frozen fries and a quick stovetop gravy, ready in about 35 minutes.

Core ingredients:
-
1 lb frozen shoestring or crinkle-cut fries
-
8 oz fresh white cheddar cheese curds
-
2 cups beef or chicken stock (hot)
-
3 tablespoons butter
-
3 tablespoons flour
-
1 tablespoon Worcestershire sauce
-
Freshly ground black pepper (lots of it)
-
Splash of apple cider vinegar or malt vinegar
-
Salt to taste
The sheet-pan method: Bake fries according to package directions at the highest suggested temperature (usually 425-450°F) until very crisp and browned. Turn them once halfway through for even color. You want these fries crispy enough to stand up to hot gravy.
The quick gravy: While fries bake, make a roux by melting butter in a pan over medium heat. Whisk in flour and cook for 1-2 minutes until golden. Slowly whisk in hot stock, then add Worcestershire sauce, salt, and lots of pepper. Simmer 5-10 minutes until glossy and thick enough to cling to fries without being gloppy.
Assembly (the fun part): Arrange piping-hot fries in a thick layer on a preheated sheet pan or oven-safe platter. Scatter curds evenly over the top, don’t be shy. Ladle hot gravy over everything so the curds start to soften and get slightly melty but don’t fully disappear into cheese puddles.
Garnishes: Top with chopped fresh parsley, thinly sliced green onions, or a tiny extra sprinkle of vinegar over the fries for balance.
Flavor twists:
-
Use mushroom gravy for vegetarian poutine
-
Swap in buffalo wing curds for more flavor
-
Go wild with bacon bits or pulled pork on top
Important serving note: Poutine is best consumed within 10-15 minutes of assembly while everything’s hot and the fries still have some structure.

Choosing Curds & Fries for Poutine
White cheddar curds most closely resemble traditional Quebec poutine, but orange cheddar curds work perfectly fine and are easier to find in some U.S. regions. No poutine police will come for you, promise.
For curd size, aim for 1-2 cm chunks. If your pieces are very large, tear them in half so they warm evenly under the gravy without leaving cold spots.
Fry style matters too:
-
Thicker cut or crinkle fries give you a heartier, gravy-soaking texture
-
Thinner shoestrings deliver ultra-crisp edges that contrast beautifully with the sauce
Oven trick: Preheating your sheet pan helps fries stay crisper on the bottom. Toss baked fries with a little extra salt just before topping so they don’t taste diluted under all that gravy.
If your oven runs hot. This prevents them from overcooking before your toppings heat through.
